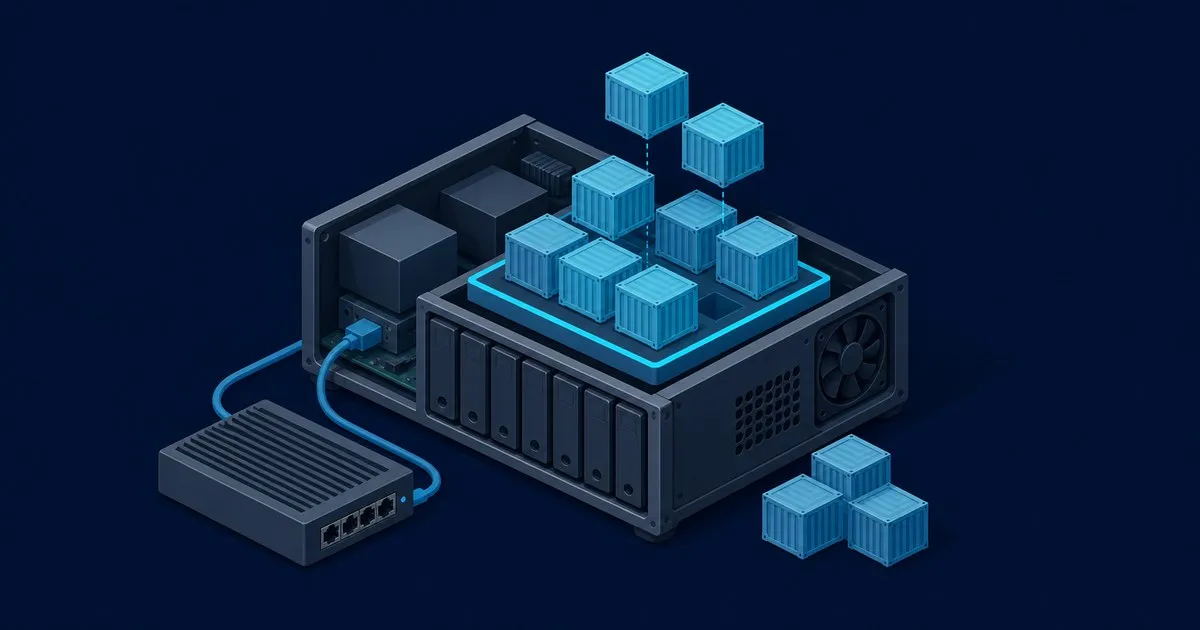
Unraid runs Docker natively, but the service is off by default. To enable it, start the array, open Settings > Docker, set Enable Docker to Yes and click Apply. Then install apps from the Community Applications Apps tab, map each container’s config folder to /mnt/user/appdata/<name>, and leave the network on Bridge unless the app needs its own IP.
Unraid packages Docker as a first-class feature of the OS rather than something you bolt on, and that changes the setup compared to a plain Linux box: there’s a GUI for the Docker engine, a curated app store for templates, and a storage convention (the appdata share) that most guides assume you already know. Containers run directly on the host rather than inside a VM, one of the bigger practical differences in Unraid vs Proxmox. Unraid 7.3.2, released 2026-07-08, ships Docker 29.5.3 (Unraid Docs: 7.3.2 release notes). What the GUI does not do is Docker Compose or building from a Dockerfile; both have workarounds below.
How to enable Docker on Unraid
Unraid’s default Docker config has the service disabled and a 20 GB vDisk (Unraid webgui: default Docker config), and the settings page warns that Docker only becomes available once the array is started (Unraid webgui: Docker settings page).
- Start the array. Docker starts and stops with it.
- Open Settings > Docker. If Enable Docker already says Yes, set it to No and click Apply first: the data-root, vDisk size, vDisk location and storage driver fields are read-only while the service runs.
- Choose a Docker data-root: btrfs vDisk, xfs vDisk or directory (compared in the next section).
- For a vDisk, set Docker vDisk size (GB) and Docker vDisk location. The file name must end in
docker.imgfor btrfs ordocker-xfs.imgfor xfs. For a directory, enter a path ending in/. - Check Default appdata storage location. The form suggests
/mnt/user/appdata/. - Set Enable Docker to Yes and click Apply. Installed containers now show on the Docker tab.
The same page holds two defaults worth knowing before something goes wrong: container log rotation is on, capped at one 50 MB file per container, and the stop timeout is 10 seconds. If the image gets corrupted, the troubleshooting docs fix is to disable Docker, delete the vDisk, re-enable it and reinstall apps from Previous Apps.
Pick a storage backend: vDisk or directory
Historically Docker on Unraid meant a single virtual disk image, docker.img, usually placed on the cache pool for speed, with all container data and programs living inside that one file (Unraid Docs: overview). Since Unraid 6.9 you can point Docker at a plain directory instead of a loopback image (on a Btrfs or XFS drive, and on ZFS pools since 6.12), which is simpler to manage and harder to fill by accident, since a directory just grows with the underlying filesystem instead of hitting a fixed image size.
| Docker data-root | Name or path | Backing filesystem | Docker storage driver |
|---|---|---|---|
| btrfs vDisk | must be named docker.img | btrfs inside a loopback image | btrfs |
| xfs vDisk | must be named docker-xfs.img | xfs inside a loopback image | overlay2 |
| Directory | any path not ending in .img | btrfs or xfs (6.9+), ZFS pool (6.12+) | matches the filesystem: btrfs, overlay2 or zfs |
On ZFS the zfs driver creates a separate dataset per image layer, and the 6.9 notes warn that a directory’s share must be one the mover never touches.
Either way, the container’s data and programs are separate from your actual application data. Unraid uses a dedicated appdata user share to hold each container’s settings and working files, specifically so backups and migrations don’t require touching the Docker storage at all (Unraid Docs: overview). If you only back up one share on an Unraid box running containers, make it appdata. Because appdata lives on a pool permanently, the Unraid hardware guide recommends two mirrored SSDs for anything running containers.
Install containers through Community Applications
You could hand-build every container from the Docker tab’s “Add Container” form, filling in the repository string and every path yourself. Almost nobody does this for common apps. Community Applications (CA) is a plugin that adds an Apps tab to the WebGUI and functions like an app store, offering a curated catalog described by Unraid’s own docs as over 2,000 free Docker containers and plugins maintained by the community (Unraid Docs: Community Applications).
To get it running:
- Open the Apps tab in the WebGUI and click Install to add the Community Applications plugin.
- Refresh the page once installation finishes to load the full Apps interface.
- Search for the app you want, review its description, and click Install.
Because these templates are community-maintained rather than reviewed by Lime Technology, the docs are explicit about vetting before you click install: check the developer’s reputation, prefer apps with active support threads, and be deliberate about which of your shares, pools, or data you’re about to expose to a container you didn’t write (Unraid Docs: Community Applications). Keep the installation window open until it finishes; closing it mid-pull can leave a container half-configured.
CA opens a pre-filled template for the container. That template is where you’ll actually set the paths, ports, and variables covered below, then click Apply.
Unraid Docker templates: what they are and where they live
An Unraid Docker template is an XML file describing one container: the image to pull (Repository), the network, and a Config entry for every path, port and variable the form shows you (Selfhosters.net: writing an Unraid template). Unraid saves each app’s settings as template XML in /boot/config/plugins/dockerMan/templates-user on the boot flash drive (Unraid Docs: Community Applications).
Those files are what make recovery painless. Select the Previous Apps filter in the Apps tab and Unraid re-downloads each container you pick and reapplies its saved settings (Unraid Docs: Docker troubleshooting). A complete restore therefore needs two backups: the flash drive for the templates and the appdata share for the data.
Extra Parameters vs Post Arguments
Post Arguments is the template field for anything that goes after the image name, typically the command or flags handed to the app inside the container. Extra Parameters holds extra Docker flags that go before the image name. Both sit in the template’s Advanced View, and both are passed through unescaped, so a typo breaks the container’s start command.
Unraid’s own code shows the order. Its xmlToCommand function builds a docker create command and appends Extra Parameters, then the quoted Repository, then Post Arguments (Unraid webgui: Helpers.php):
docker create <name, ports, paths, variables> <Extra Parameters> '<Repository>' <Post Arguments>Typical uses:
- Extra Parameters: Docker flags with no dedicated field. The 6.12.0 release notes suggested
--no-healthcheckhere for Plex containers that had trouble starting. - Post Arguments: overriding the image’s default command. A forum thread on converting a Grafana Alloy
docker runended withrun --server.http.listen-addr=0.0.0.0:12345 --storage.path=/var/lib/alloy/data /etc/alloy/config.alloyin Post Arguments and Extra Parameters left empty.
Translating a docker run line from a project’s README:
docker run part | Unraid template field |
|---|---|
-v /host/path:/container/path | Path |
-p 8080:80 | Port |
-e KEY=value | Variable |
--network | Network Type |
Image name, e.g. grafana/alloy:latest | Repository |
| Any other flag before the image | Extra Parameters |
| Everything after the image name | Post Arguments |
Get path mappings right
This is the step that causes the most support-forum posts. Every container needs its persistent data mapped from a path inside the container to a path on your Unraid server, and mixing these up is how people lose configs on a container update.
The convention:
- Container path: the directory the application expects internally, almost always something like
/configor/data. This is fixed by the app; you don’t choose it. - Host path: where that data actually lives on your array or pool, by convention
/mnt/user/appdata/<container-name>for configs, and wherever your media or working files live for bulk data.
Unraid’s docs note that host paths are created automatically if they don’t exist, and that seeing folders you didn’t expect under a mount usually means a mapping is pointed somewhere you didn’t intend (Unraid Docs: managing and customizing containers). Each mapping also has an access mode, and the guidance is to use the most restrictive one that still lets the app function, meaning read-only for anything the container only needs to read, like a media library it serves but doesn’t write to.
Don’t map anything you don’t need to. A container that only needs its config directory and one media folder shouldn’t also have your entire array mounted read-write.
Choose a network type deliberately
Unraid exposes four Docker network modes, and the default isn’t always the right one:
- Bridge: Docker’s internal network, with explicit port mapping between host and container. This is the default and the safest choice for most apps since ports are contained and conflicts are visible in the GUI.
- Host: the container shares the server’s network stack directly, no port mapping needed, but you’re now responsible for avoiding port collisions with Unraid itself and other host-mode containers.
- None: no network connectivity at all, for containers that only need local disk access.
- Custom (macvlan/ipvlan): the container gets its own IP on your LAN, appearing as a distinct device. This is common for apps like Pi-hole that want a stable, dedicated address, but it’s the most advanced option to configure correctly.
One gotcha worth knowing before you hit it blind: Docker can’t run two networks on the same subnet, so switching a server between wired and wireless connections (or changing your LAN’s IP range) can force a Docker restart to sort itself out (Unraid Docs: managing and customizing containers).
A second one arrived with Docker 29 in Unraid 7.2.5: containers may receive a new dynamically generated MAC address each time they are created (Unraid Docs: 7.2.5 release notes). If a custom-network container has a DHCP reservation or firewall rule tied to its MAC, fill in the template’s new MAC Address field so the address survives restarts, reboots and container recreates. Unraid migrates any old --mac-address= flag from Extra Parameters into that field where safe.
For ports, only change the host-side value unless you know the application explicitly supports remapping its internal port. Changing the container-side port on an app that hardcodes it internally will just leave the app unreachable.
Docker Compose on Unraid
Unraid does not natively support Docker Compose (Unraid Docs: overview). The usual fix is the Compose Manager Plus plugin from Community Applications, a fork of dcflachs’ Docker Compose Manager. The original is deprecated and “will no longer receive updates or support,” according to its forum thread, so guides that tell you to install it are out of date.
- Enable Docker first. The plugin requires Unraid 6.9.0 or later with the Docker service on, and its README notes it is untested on anything older than 7.2.3 (GitHub: mstrhakr/compose_plugin).
- Search Compose Manager Plus in the Apps tab and install it, or use Plugins > Install Plugin with
https://raw.githubusercontent.com/mstrhakr/compose_plugin/main/compose.manager.plg. - The plugin installs the Docker Compose CLI plugin (v5 by default) and adds a stack manager to the WebGUI.
- Create a stack, paste in your compose file, and use the one-click start, stop, restart, update, pull/build and remove actions (Community Apps: Compose Manager Plus).
- Set per-stack autostart, optionally with force-recreate and a wait-for-Docker delay.
Stacks are stored in /boot/config/plugins/compose.manager/projects on the flash drive by default, and changing the projects folder later does not move existing stacks. Compose-created containers also appear on the native Docker tab; the plugin can hide them to avoid duplicates, though that behaviour varies by Unraid version. Keep bind mounts under /mnt/user/appdata/ so your appdata backup still covers them.
| CA template | Compose Manager Plus stack | |
|---|---|---|
| Good fit | Single apps from the 2,000+ CA catalog | Multi-container stacks you already have as YAML |
| Startup control | Docker tab order plus a per-container wait in seconds | Per-stack autostart, force-recreate, timeouts |
| Restore | Previous Apps reapplies saved settings | Manual and scheduled backups with selective restore |
| Build from a Dockerfile | No | Yes, via pull/build |
Can Unraid build from a Dockerfile?
Not from the Docker tab. Unraid’s Docker manager can pull and remove images but contains no build logic (Unraid webgui: DockerClient.php), so a template’s Repository field always points at an image in a registry. To run your own Dockerfile, build it through Compose or build it elsewhere and pull the result.
- With Compose Manager Plus: give the service a
build:key.contextis the directory holding the Dockerfile (or a Git repository URL), anddockerfilenames an alternate file, resolved relative to the context (Docker Docs: Compose build specification). If a service has bothimageandbuild, Compose tries to pull the image first and builds from source when it isn’t found. - With a registry: build on a workstation or CI runner, push the image, and put its name in a normal template’s Repository field. Unraid has supported private registries with basic auth since 6.9.0.
Variables, updates, and what to check after install
Environment variables in the CA template handle everything the app needs at runtime that isn’t a file path: timezone, PUID/PGID for file permissions, API keys, admin passwords. Use them instead of hardcoding secrets into a config file the container overwrites on every restart.
If you’re chaining containers, such as a media app that depends on a download client or a database a service needs before it will start, plan for startup order and verify it after any change to the stack. By default Unraid starts auto-start containers as quickly as possible in the order they appear on the Docker tab. To control it, switch the Docker tab to Advanced View, unlock the list with the padlock icon, drag containers into order, and enter a wait time in seconds for any container that needs extra time before the next one starts (Unraid Docs: managing and customizing containers). A container that starts before its dependency is reachable will often just crash-loop.
For updates, CA’s Apps tab includes an Action Center that tracks which installed containers have new versions available, along with deprecated, incompatible, or blacklisted apps (Unraid Docs: Community Applications). Because your actual data lives in the appdata share and not inside the container image, pulling an update and recreating the container is normally non-destructive as long as you didn’t change the path mappings. If you’re used to docker compose up -d for multi-container stacks, keep those stacks in Compose Manager Plus as described above and use CA templates for everything else.
FAQ
how big should the unraid docker image be
Unraid’s default Docker vDisk is 20 GB, and its troubleshooting docs say the default size is typically sufficient for most users. You can only resize it with Docker stopped under Settings > Docker. To avoid sizing altogether, choose the directory data-root on a Btrfs, XFS or ZFS pool, which grows with the filesystem.
does unraid support docker compose
Not natively; Unraid’s own documentation says so. Install Compose Manager Plus from the Apps tab to get the Docker Compose CLI plugin and a stack manager inside the WebGUI. It needs Unraid 6.9.0 or later with Docker enabled. Skip the original Docker Compose Manager plugin, which is deprecated and no longer receives updates or support.
what are post arguments in unraid docker
Post Arguments is the template field Unraid places after the image name when it builds the docker create command, so its contents reach the container’s entrypoint as the command or its flags. Use it for an app’s own run options. Docker flags such as —no-healthcheck belong in Extra Parameters, which sits before the image name.
where are unraid docker templates stored
Unraid stores each app’s template as an XML file in /boot/config/plugins/dockerMan/templates-user on the USB flash drive. Those files let the Previous Apps filter in the Apps tab reinstall containers with their old settings, so back up the flash drive together with the appdata share if you want a complete restore.


